Wow! Three months since the last post! Mostly due to the kitchen install, which, like the flooring, dragged out unexpectedly long.
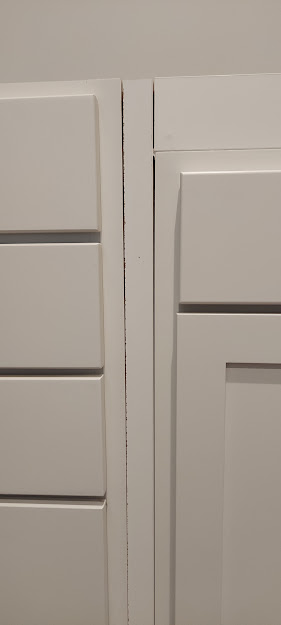
We opted to order our kitchen from Menards, as there are features to their cabinet line that I really like. They are "European style" cabinets, which means they have no face frame on the front, allowing full-width access to the interior and wider drawers. They are also modular; you can choose to swap out doors for drawers, or different size drawers, etc.
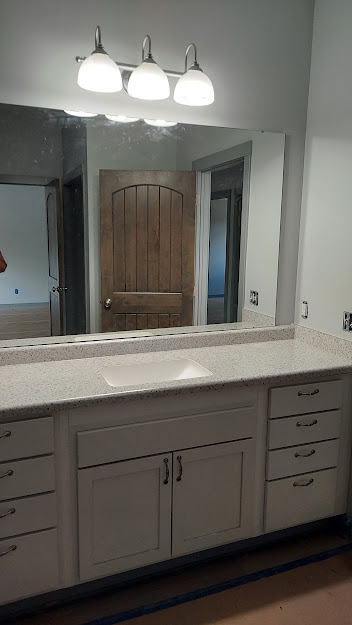
I chose almost entirely drawers for the lower cabinets. They are easier to get stuff in and out of, and allow for full access w/o having to get down on knees on the floor. The only lower doors are the corner carousel, the ones under the seating overhang, and the pantry cabinet.
When we picked up the order at Menards, they loaded it all very quickly. It was not possible to track the items against the order sheet to be sure that we had everything. The staff assured me that the order was triple-checked as it went through the process, so I gave up and took their word for it. Once we got to the house, they all got piled in the dining room. Per the advice Sid found online, Wanda and I attempted to sort all the pieces and parts according to the respective cabinet, partly to double-check the order, partly to organize it for assembly. Good in theory, but in the long run, it really didn't help.

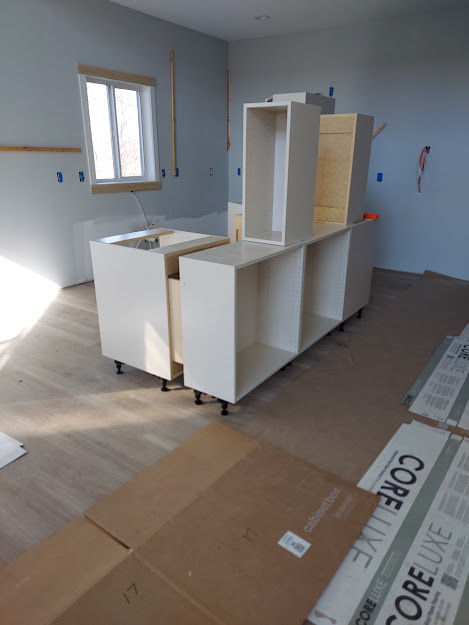
Cabinet install begins with the corner. Super easy right? Just attach it to the two walls. But it didn't fit square. The corner seemed to be obtuse, making the cabinet only reach the wall on one side. Sid and Tim fussed with it for 2 days, trying a few different options, and putting up/taking down several cabinets in attempts to make it work, at one point taking a mental break and putting the island together instead, so they could use it as a work surface. Finally they took it all out again and called on Troy. He checked the walls for square and flush, and found a bowed-out stud was causing the problem. He picked up his circular saw, carved out a hollow on the back of the cabinet wall, and fit it into place. Sid and Tim were able to take it from there.
While Sid and Tim worked on the cabinets, John, Matty, and I worked on putting drawers together. When you choose all drawers for the lower cabinets, that's a LOT of drawers!
When the cabinets were finally completed, we had to fit the countertop templates. A little tweaking was required, so we had to go back to Menards to make some adjustments. They told us one week is the usual turn-around. When I recieved the confirmation e-mail, it said *3* weeks until the expected shipping date! Three weeks came and went. At 4 weeks, I found a place to check the status online, where it said "partial" delivery had been made to the store.
When we needed to go to Menards for other things a few days later, I checked in with the pick-up desk to see which parts had arrived. All progress on the house was stalled until we got those countertops in, and I was hoping for the 2 side pieces so we could at least move forward on other aspects of the house while we waited for the rest. But, the only thing in was the island top- the least needed piece. The staff was confused because "they NEVER send partial orders of countertops". The Pick-up staff walked me over to the cabinet dept. because they have the ability to connect to the manufacturer and find out more detail. The guy there, Peter, looked it up and found the rest was on the truck due in at noon that day. Yay! He promised to keep me posted and let me know when it arrived. At 1:00 I got a call from him. The truck had been pulled over in Wisc. due to something dripping from the cargo. Per the cops, they were not allowed to continue. Per company policy, they were not allowed to break the seal on the truck w/o permission. So, they had to square things with their superiors, and probably get another truck to meet them to transfer the cargo. I don't know what all happened at their end, but we didn't get our countertops until 3 days later.

While the island top was very nicely packaged, the other pieces were less so. Maybe it was a result of the extra handling in the truck issue, but the corner of the miter was cracked. The top surface was only bent, so we opted to attempt a repair rather than have to wait ANOTHER 4 weeks for a replacement. It got glue in the crack, and flat pieces clamped on both sides to hold it flat. It worked, but it still wanted to curve upwards.
Installing the tops into the corner required removing the side of the fridge space, and shaping the back edge to accommodate that bowed wall near the corner. I ordered the top w/o a backsplash because it would have complicated the pass-through and because I am going to do tile. We also realized after the fact that it would have been an issue with the window trim, so I'm glad I made the choice I did.


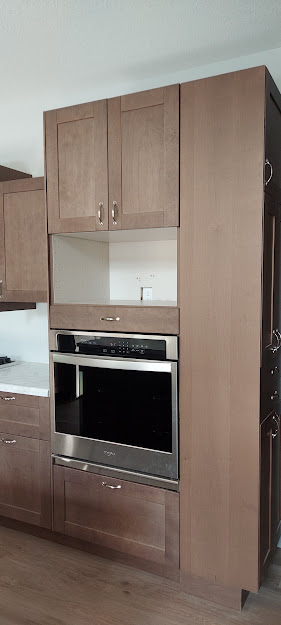
NOW we can finally get the plumbers in to install sinks, and the electrician in to do the oven, along with all the other things that are in their respective purviews. The oven as you see it in the pic above is just set into it's opening. We had to use it to get its shelf into the right position in relation to the drawer underneath. The shelves and drawer above it are just stuck up there out of the way, w/o concern for their final position. Not knowing what goes into the installation, and knowing the electrician needs clear access, we left that part until later, to work around whatever the electrician does.
After the electrician came to do the wiring, he let me know that the oven does not fit! The cabinet is not deep enough, and we need to add some strips of wood along the front edge so it can be anchored. He put in the wiring, but because of lack of space behind, he had pulled the junction box up into the space above the shelf and drilled holes in the shelf to pull the wires through (the shelf that was not intended to stay in that location.) Another hold-up while we get this figured out. We found a few scraps of cabinet material to use as build-up strips that would keep it all matching. It made NO sense to me that a cabinet sold as an oven cabinet would not allow the oven to fit, so I pulled out the assembly instructions to see what I had missed. The instructions take you through all the steps, including how to put on the back pieces, with no mention of special accommodations for an oven. Instructions appeared to end at the bottom of the last inside page. Then I turned the booklet over. On the very back outside page, it adds, almost as an afterthought, that if you are installing an oven, leave off the backing in that area! Well, at least that's an easy fix. It had been glued and nailed into place, but the precision use of the appropriate saw removed it easily. We had to make some modifications to make the drawer and shelf fit around the junction box, but in the end it all fit properly and functionally. There is now a mess at the back of the microwave shelf, but we have matching contact paper, so I'll make a false back to hide it all.
It took MUCH longer than anticipated, but the kitchen is now DONE. All appliances are in place and functional. A couple small finishing details needed, but if I wanted to I could cook a meal here.