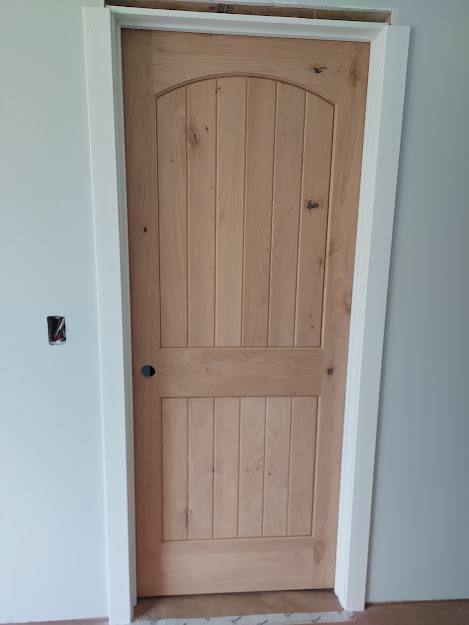
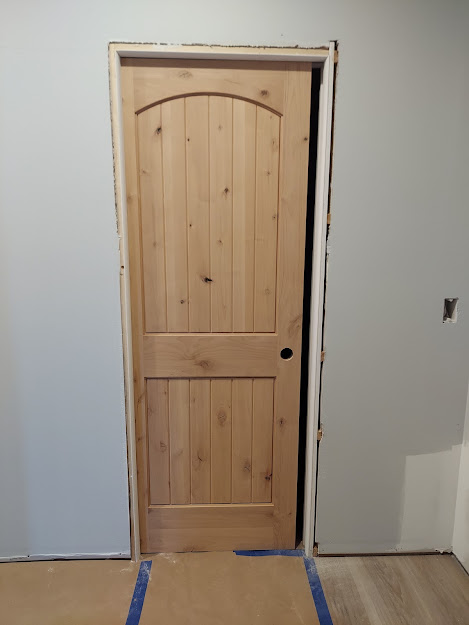
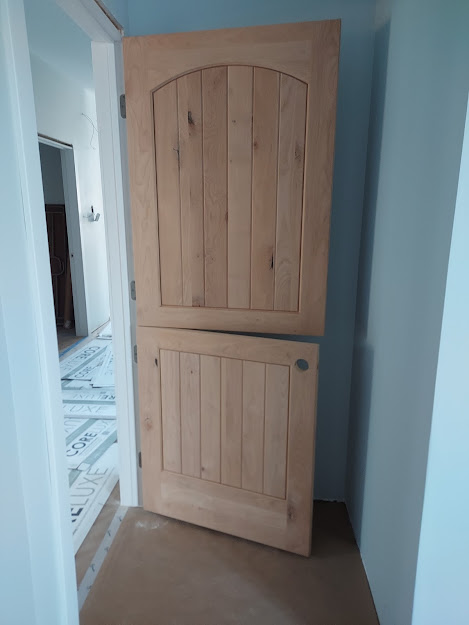
Floors were a long haul, and deserve a post of their own. This is one of the projects we opted to DIY. When Troy sent us to the local flooring store to pick out a floor, the prices were !!!! compared to what I had seen elsewhere. I did some shopping around and we opted to do this on our own. Luxury vinyl plank, or LVP, is commonly sold as a DIY product, so how hard can it be?
I finally settled on Lumber Liquidators as the source, and chose several I liked to order samples. The goal was one with blended colors that would work with both the kitchen cabinets and the grey paint. Finding something to match both grey and brown, and NOT have orange, yellow or red undertones, meant getting one of the newer looks instead of something more traditional and monotone.
We eventually settled on one we both liked., but couldn't order it yet as there was no where to put it that wouldn't be in Troy's way. It went on sale, then sold out. When it was finally time to order, I had to pick from other options. I went up to the store, and spent much time comparing. One I liked was glue-down instead of floating- Nope. Another was low-grade and wouldn't stand up to puppy-dog nails. Eventually narrowed it down to 2. First looked too stripy, other looked blotchy. Stripy won. It took several weeks to come in, and the saga of picking it up is in the previous post.
It sat in the garage for a couple weeks, then got moved into the house to acclimate for a few days. The boys and Matty helped Sid carry it in and the kids carried the necessary amount upstairs.
Troy told us that they had done all the floors in his new house in 10 hrs. That sounded promising! How hard could it be?
When Sid started laying it, he started on the long west wall with the big windows. We found that the big issue with a floating floor is keeping in stable! It must be laid with a gap all around, not tight against the walls/framing. This means it wants to move when you push hard enough to make it click together. Since it is laid by the row, with the ends connected first, it's really unstable at the beginning. It took Sid a whole day to lay the first 5 rows.
The second day he had to start off with a couple obstacles. First up was the septic clean-out in the corner. The flooring had to be done as a removeable cover for future access. Next up was the first in-floor outlet. Those required a cut close around the pipe. Sid completed about 3X what he did the first day, and we got a good rhythm going working together.
By this time we were seriously doubting Troy's claim. Just how many people did he have working? How much was carpet instead of floors?
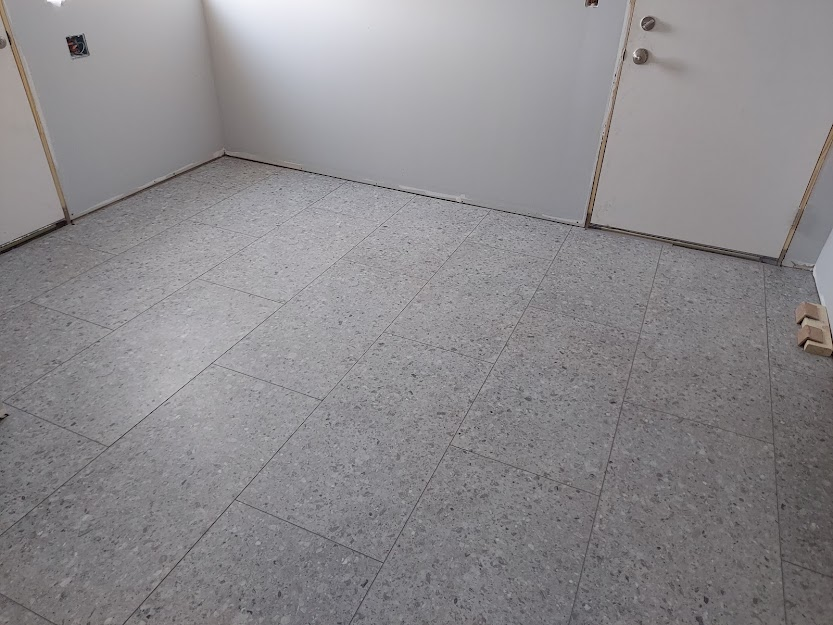
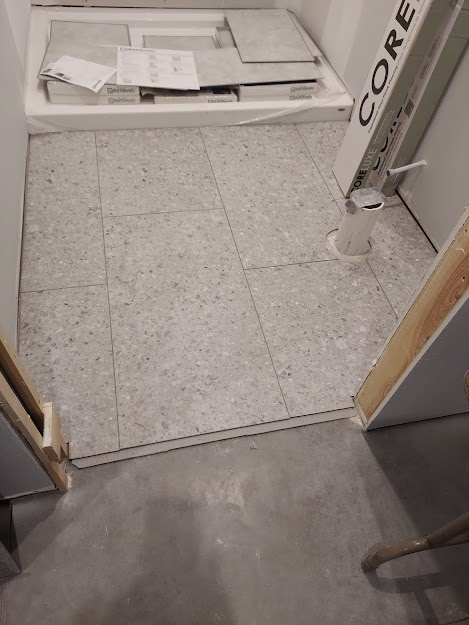
The third day, Bill was available to help and he and I worked on the mud room. This is a different type of tile. Still vinyl and click-together, but it looks like a large ceramic tile instead of a wood. This pic looks like a nice square room, but it has a large closet and several changes in width along the west wall. We got most of it done in less than a day, and I finished up the rest the next morning. From there I moved to the downstairs bathroom. Small and square, but with a pipe to make it interesting.
The next day, Bill was back, with Wanda. We headed upstairs and started on the underlayment. The downstairs got a foam underlay with a vapor barrier. Upstairs it's a felt for noise reduction. It was a nuisance to lay as it was rolled backwards so we couldn't just set it down and push to unroll. Tim and Matty showed up and started on the bedroom until Sid commandeered their assistance downstairs. Underlay was all we got done that day.
On my own the following day, I did the upstairs bathroom. I goofed and didn't stagger the boards. Didn't notice that until after I cut the holes for the pipes, and there wasn't any more tile so like that it will stay.
Then came the plank for the rest of the upstairs. The long wall was just as long as downstairs, with the addition of heat vents to make it even less stable. We tried starting it right up against the framing, but there were multiple nails that prevented complete contact. Final solution was many small pieces of tile placed between the nails and bridging every joint between tiles. We completed about 5 rows, then removed the spacers and push the whole thing gently into position. Then we quit for the night. The next day I got it done as far as the stairway.

Another day had that room done, then I moved into the guest room. Got it all done, and when I reached the far wall discovered the whole thing was cockeyed by about a half inch, thanks to the trouble I had making the corner into the closet. I couldn't move the whole thing, so I took it apart down to 3 rows and shifted the remainder into place. I braced the edge to prevent movement and got it relaid in an hour. Amazing how much faster it goes when the boards are already cut to size. Sid needed the crowbar that was bracing it, and since it was nearly done I gave it to him and finished the floor. And it was crooked again. Sid came up to evaluate it and found the initial board in the closet needed to be trimmed narrower. Took it apart again. Trimmed the offending board and laid the room for the third time. Success!
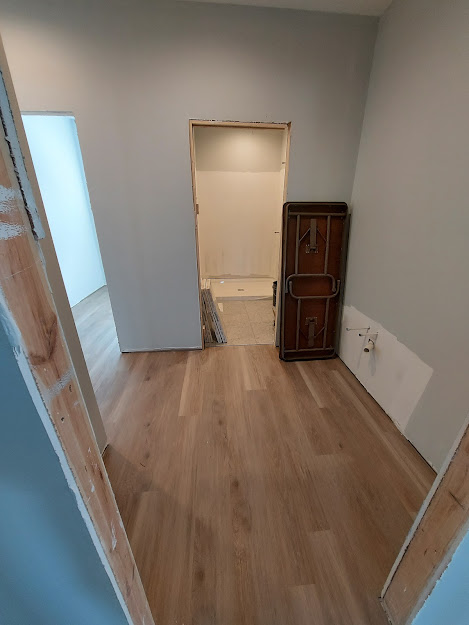
Continued down the row of rooms to the dressing room and the library with no problems.
While I was working upstairs Sid was continuing downstairs, many days only getting a few rows done after work. Through the days he learned a few tricks than made for faster progress. Through the kitchen, study, hall, and all the little spaces. Lots of precision cuts and corners and back-tracking into the rooms. Finally to the bedroom and job completed 4 weeks after beginning.
At some point we teased Troy with our doubts re: the speed for his house. No carpet there, but he did have the help of Brock and Dustin. A well-tuned team that knows all the tricks can certainly out-perform a couple amateur's who are learning as they go!